
Looking for the best car audio installation in Montclair, CA? Discover expert tips, top brands, and why Audio Vision is the go-to destination for high-quality car sound systems.
Product Brand: Audio Vision
Product Currency: USD
Product Price: 299
Product In-Stock: InStock
Body kit installation can completely change the appearance of your car, but getting the finished look you want takes more than bolting on a front lip or replacing a bumper. The parts need to fit the vehicle, line up with the surrounding body panels, and have a finish that complements the original paint.
Maybe you want a sportier front bumper, side skirts that make your car look lower, or a complete widebody conversion.
You might already have a body kit picked out and want to know what happens during installation.
Or perhaps you’re comparing different kits and wondering why one project requires much more work than another.
Here’s what matters: the body kit itself is only one part of the project.
Fitment adjustments, material preparation, mounting hardware, paint matching, and the condition of your vehicle all affect the work involved.
A kit that looks perfect in a product photo may require trimming or adjustment to fit your actual vehicle. A bumper advertised as ready for paint may need additional preparation. And matching a newly painted part to an older factory finish isn’t always as simple as using the original paint code.
At Audio Vision, we’ve served Inland Empire vehicle owners since 2006. Our shop offers custom body kit installation, automotive paint services, and other exterior customization options.
We’re located at 5521 Holt Blvd, Montclair, CA 91763, serving customers from Ontario, CA, Rancho Cucamonga, CA, Pomona, CA, and nearby communities.
This guide covers body kit materials, fitment, paint matching, installation methods, and the factors that affect the scope of a body kit project.
A car body kit is a collection of exterior parts designed to change the appearance of a vehicle.
Some kits add small accents around the original bumpers and side panels.
Others replace major exterior components, creating a noticeably different body shape.
A body kit may contain:
Not every kit contains all these parts.
Some are sold as complete packages, while others allow you to select individual pieces.
No.
Exterior styling products are available for many sedans, coupes, hatchbacks, trucks, and SUVs.
A body kit might be selected to create a sportier appearance, complement new wheels, or change the overall body lines.
The available products depend on your vehicle’s exact model and body style.
Some aerodynamic parts are engineered for a performance purpose.
Others are primarily decorative.
A front lip that resembles a race-car splitter doesn’t automatically produce measurable downforce.
Actual aerodynamic behavior depends on the part’s design, mounting, vehicle shape, speed, and surrounding airflow.
If performance is your goal, ask for manufacturer documentation rather than relying on appearance alone.
Before scheduling body kit installation, decide how much of the vehicle you want to change.
A single-piece front lip is a different project from replacing both bumpers and installing wider fenders.
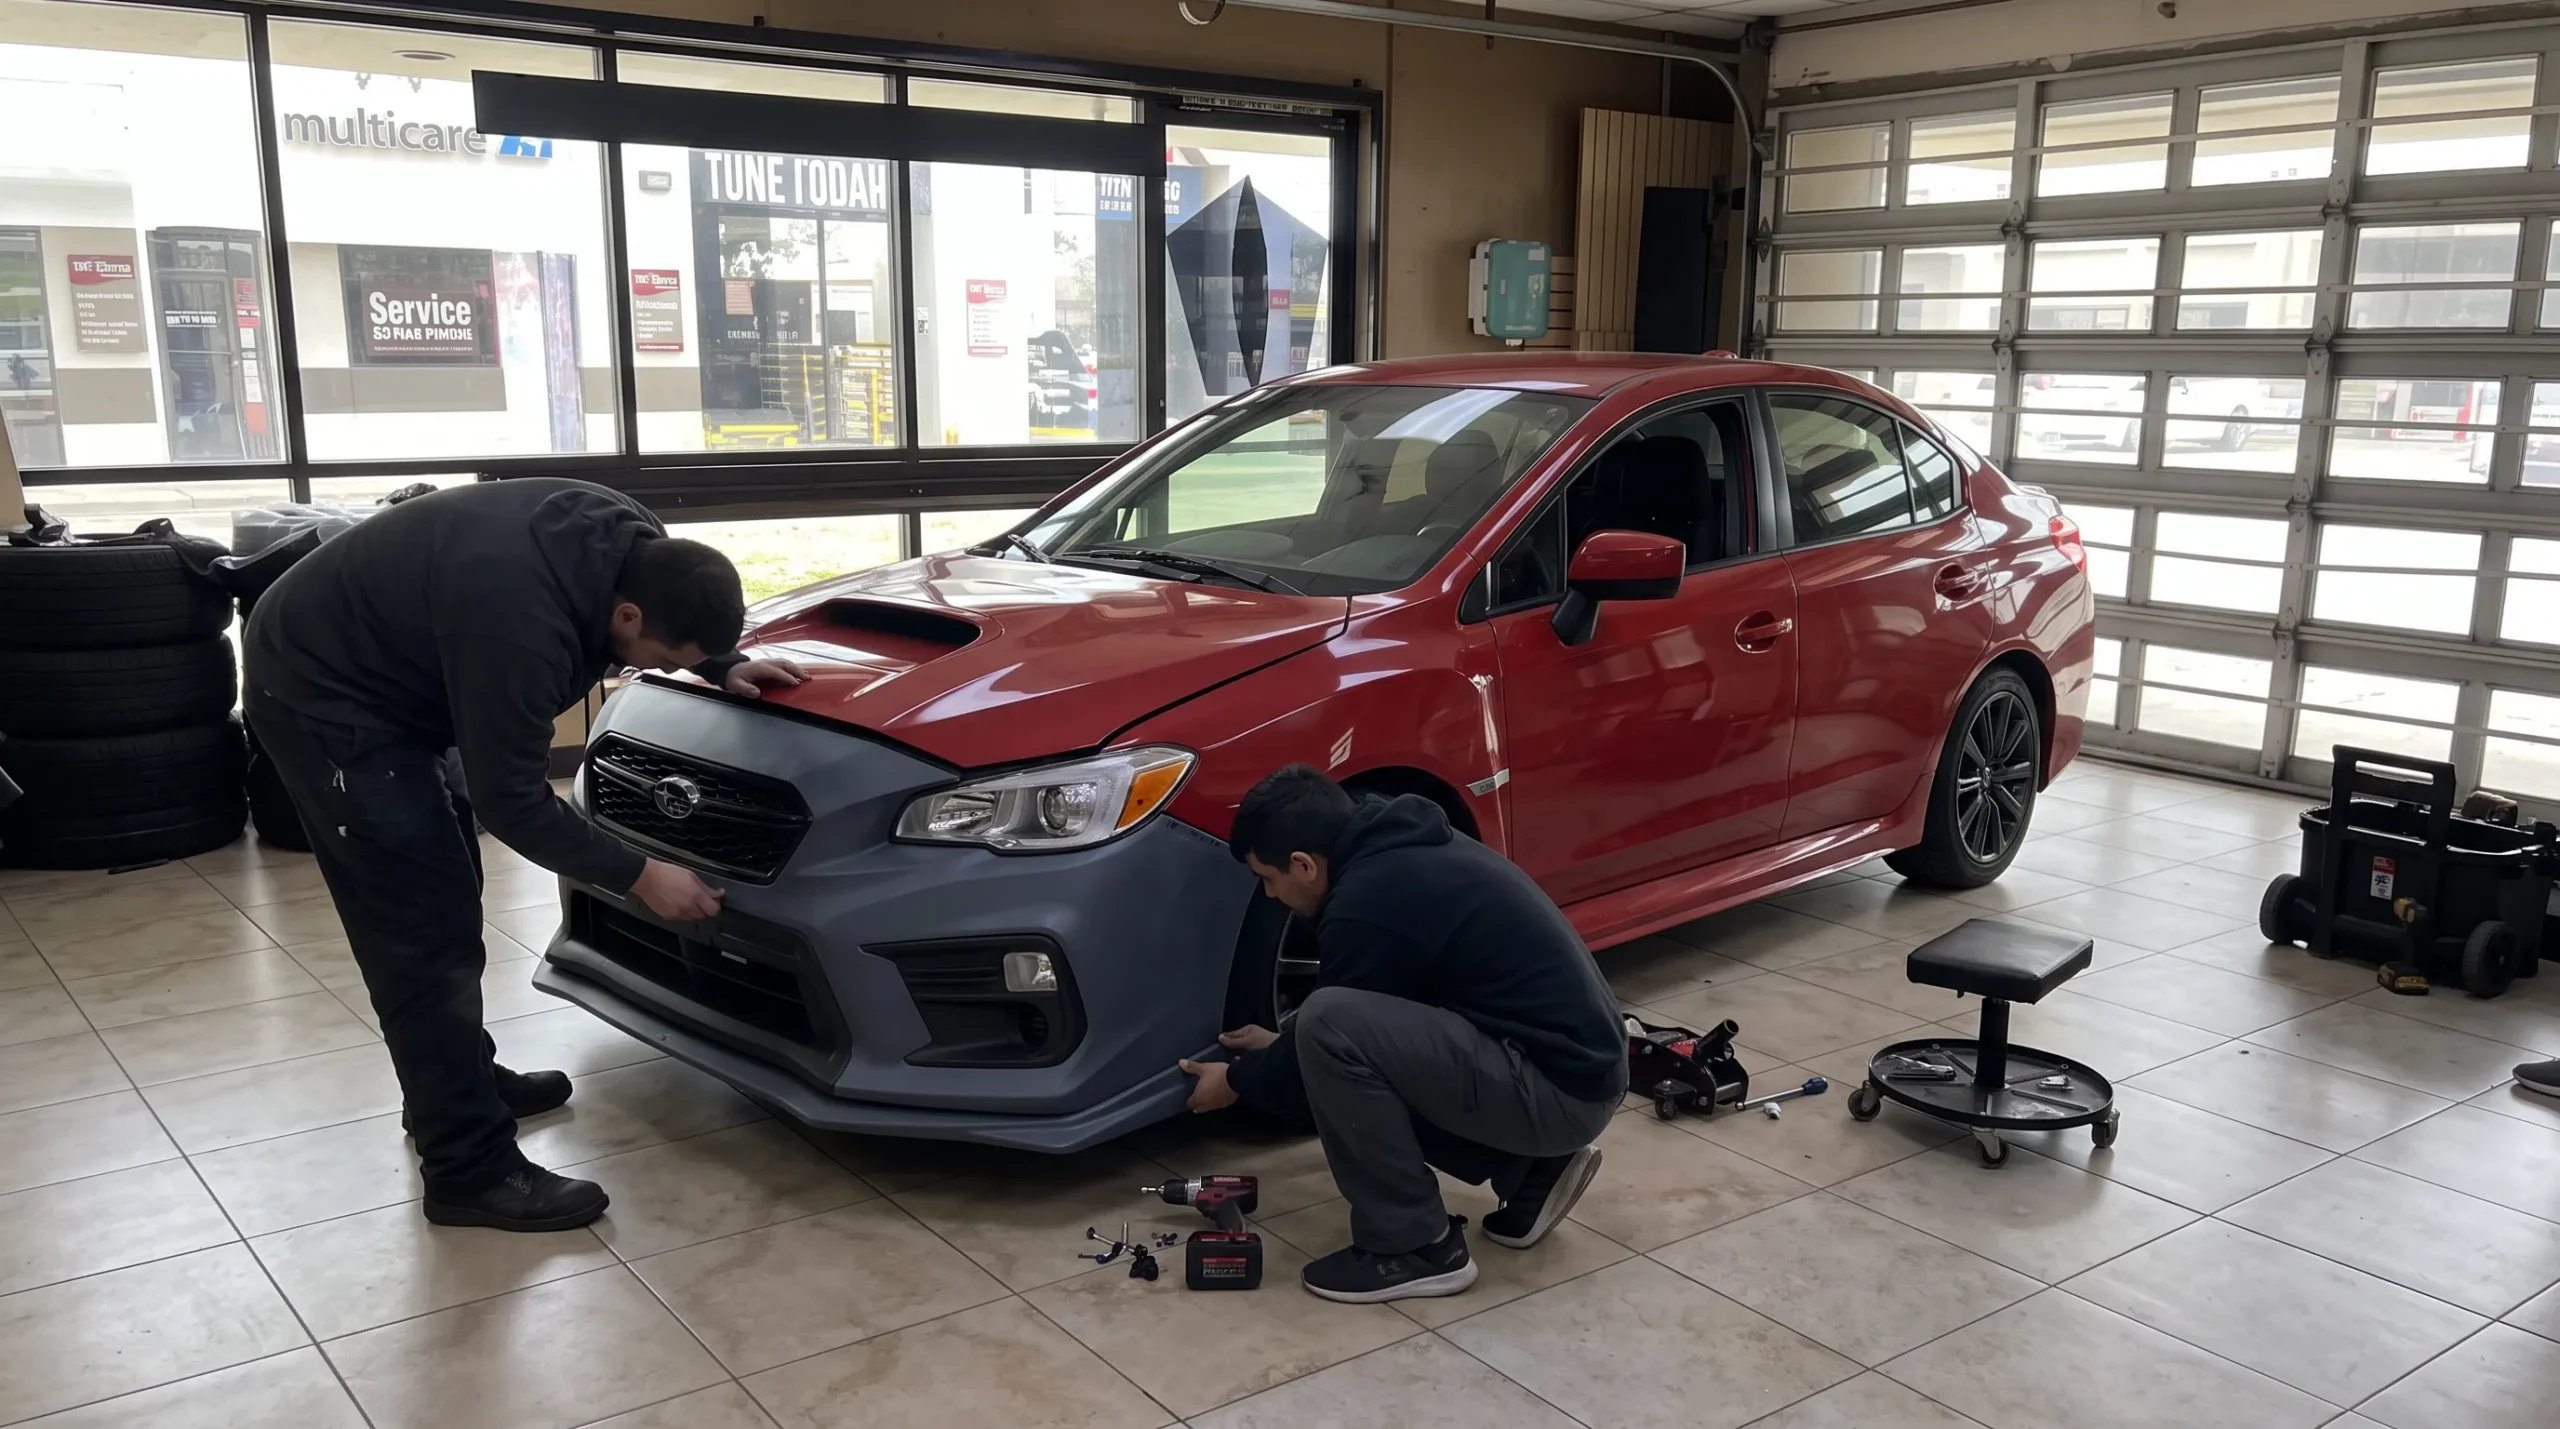
A front lip attaches near the lower edge of the front bumper.
It can give the vehicle a lower, sportier appearance without replacing the complete bumper cover.
Some products use existing mounting points. Others require additional fastening or reinforcement.
A true aerodynamic splitter may need supporting hardware designed to handle the forces it encounters.
A complete front bumper cover can change the shape of the vehicle’s front end.
The installer needs to check its attachment points, grille openings, lighting locations, and compatibility with factory equipment.
Some bumpers also contain parking sensors or sit in front of radar equipment.
Side skirts run along the lower sides of the vehicle.
They can visually connect a front lip to a rear bumper or diffuser.
The installer must check door clearance, mounting points, and how the skirt meets the wheel openings.
A rear diffuser or bumper extension changes the lower rear appearance.
Depending on the vehicle, it may need to fit around exhaust outlets, parking sensors, and other factory parts.
A spoiler may attach to a trunk lid, hatch, or another suitable body location.
Mounting requirements vary.
Larger wings can place different loads on the mounting surface, so proper reinforcement and manufacturer instructions matter.
A widebody kit changes the vehicle’s width or the appearance of its wheel arches.
Some kits use bolt-on fender extensions.
Others require cutting the original fenders or making more substantial body modifications.
Widebody installation deserves its own planning process because the fitment and bodywork can be much more involved.
A body kit should be selected for your vehicle’s exact specifications.
A part advertised for a particular make and model may still have restrictions involving model year, trim, factory appearance package, or body style.
Before choosing a kit, confirm:
Even vehicles from the same model family may use different bumpers or attachment arrangements.
If a vehicle has been involved in a collision, the original panel positions may have changed.
A bumper bracket might be bent.
A replacement fender could sit differently from the original.
A previous repair might also have left uneven gaps.
These conditions can affect how the new body kit fits.
Not always.
SEIBON Carbon’s product support guidance explains that aftermarket carbon fiber body components may need minor adjustments even when they’ve been designed and checked for particular vehicle applications.
Some parts are closer to direct replacements than others.
The quality of the original design, manufacturing process, and vehicle condition all affect the final fit.
A well-designed kit may require fewer adjustments than one with inconsistent dimensions.
But don’t assume a higher-end material automatically means perfect fitment.
Compare the manufacturer’s fitment information, installation instructions, and requirements for your vehicle.
One of the biggest mistakes in body kit installation is painting every component before checking whether it fits the vehicle.
A part can look excellent on a workbench but leave uneven gaps once mounted.
Those problems are easier to discover before the finish has been applied.
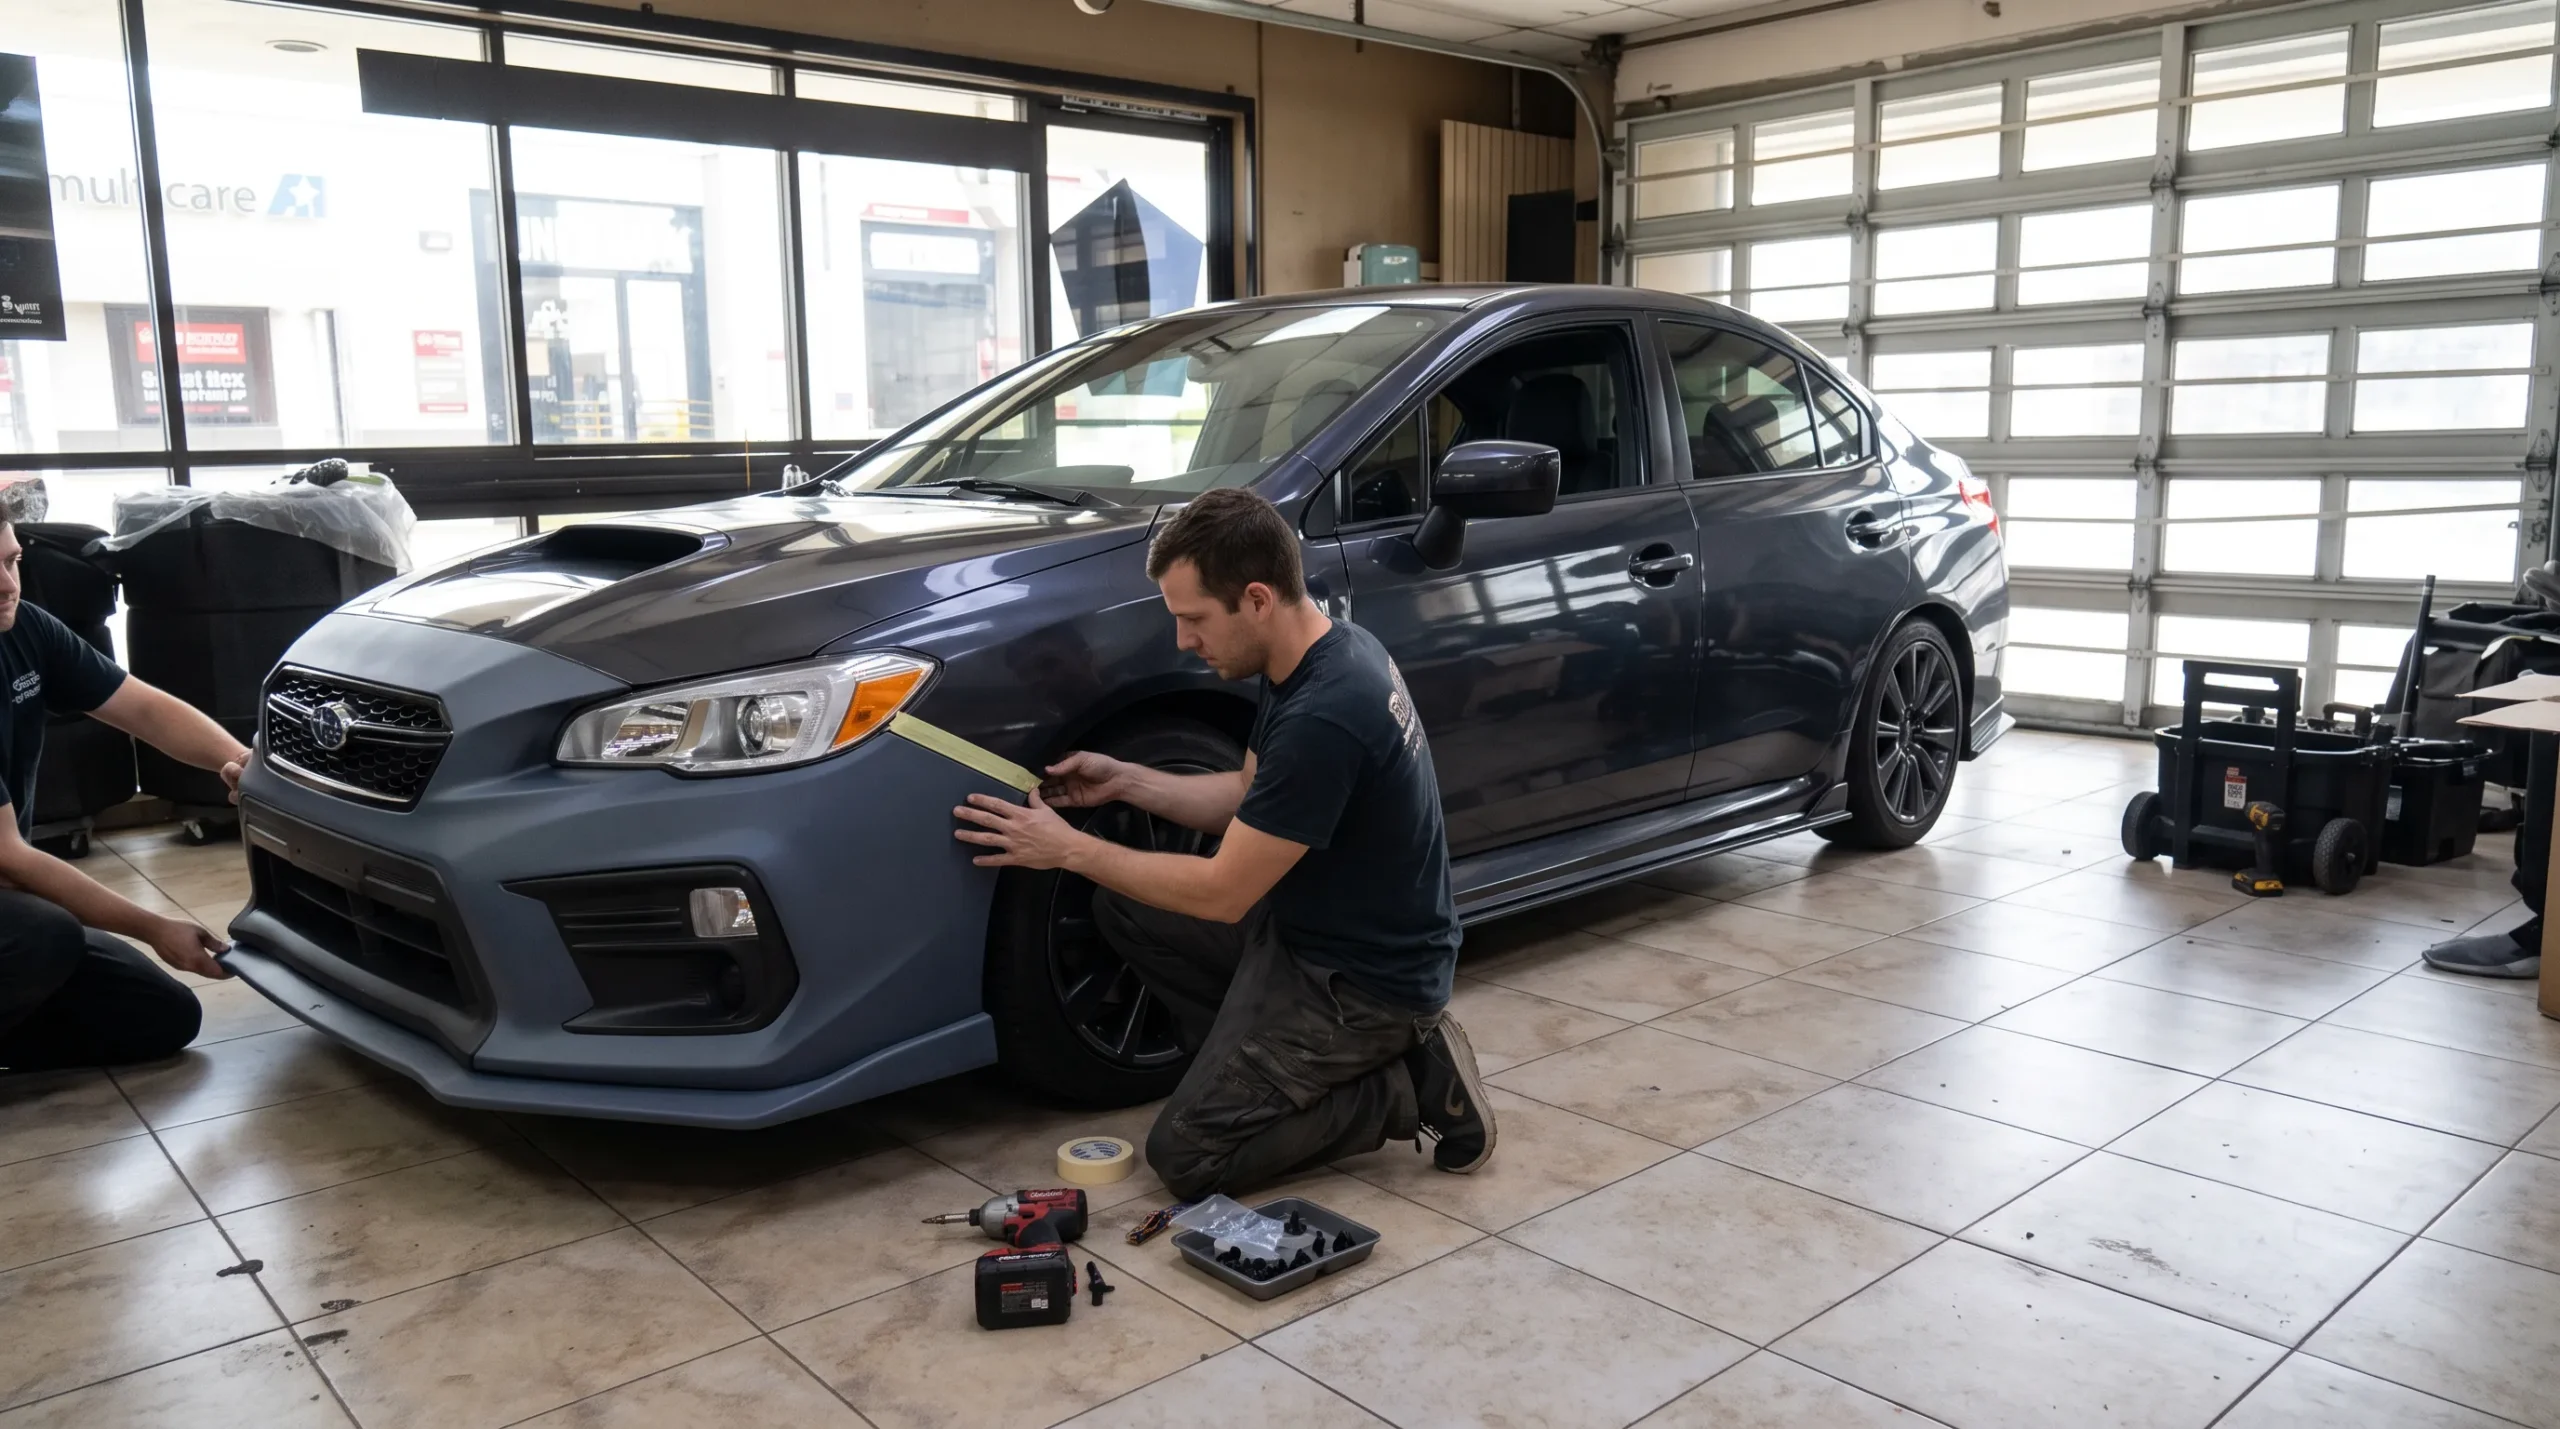
A dry fit means temporarily positioning a body kit component on the vehicle to inspect its shape and alignment.
The technician checks how the part meets the surrounding panels.
This may reveal:
Extreme Dimensions, a body kit manufacturer, states in its product documentation that installation and preparation can involve test fitting, sanding, trimming, filling, and painting.
This means an aftermarket kit may require work beyond simply attaching the parts.
Imagine painting a front bumper before checking its fit.
During installation, the technician discovers that an edge needs reshaping.
That adjustment could affect the newly finished surface.
Additional preparation and refinishing may then become necessary.
It’s usually better to identify fitment problems before the paint process begins.
Ask whether the body kit will be test-fitted before final preparation and painting.
Also ask how the shop will handle any unexpected gaps or mounting problems.
The answers can help you understand the installation plan.
Body kits are made from several materials.
Each has different characteristics that can affect installation, finish preparation, and maintenance.
Fiberglass parts are made using reinforcing glass fibers and a resin system.
They’re common in aftermarket body styling.
Some fiberglass kits arrive with a gel-coated surface that needs preparation before painting.
Fiberglass can be shaped and repaired using suitable techniques, but its response to impacts depends on the construction.
A poorly fitted or improperly mounted fiberglass part may crack when subjected to stress.
Polyurethane is used in certain flexible exterior components.
Depending on the formulation and construction, these parts may tolerate deformation differently from fiberglass.
But the material still requires proper mounting and compatible finishing methods.
Some polyurethane parts need special preparation before paint will adhere correctly.
ABS is a type of thermoplastic used in many automotive and consumer products.
Some aftermarket lips, side skirts, and exterior accessories are made from ABS.
Certain ABS products arrive with a finished black surface and don’t require color matching unless the owner wants them painted.
Manufacturer Maxton Design lists ABS construction, mounting hardware, and product-specific fitting information for its front splitters.
Carbon fiber components use reinforcing carbon fibers within a resin structure.
They can be used for hoods, spoilers, side skirts, fenders, and other parts.
Some products display the carbon weave through a clear finish.
Others may be painted to match the vehicle.
Anderson Composites recommends installation by professionals familiar with composite materials and provides special care instructions for its products.
| Material | Common considerations | Preparation concerns |
|---|---|---|
| Fiberglass | Mold quality, rigidity, possible cracking | Surface finishing, sanding, primer |
| Polyurethane | Flexible characteristics vary by product | Cleaning, adhesion, material compatibility |
| ABS plastic | Used for formed exterior parts | Surface finish and approved coating process |
| Carbon fiber | Composite construction and visible weave options | Resin finish, UV protection, manufacturer instructions |
There is no single material that is automatically best for every body kit.
The part’s design, manufacturing quality, intended use, and installation matter too.
Paint matching is one of the most noticeable parts of a finished body kit project.
You want the new front bumper, side skirts, or rear diffuser to look like they belong on the vehicle.
But matching an existing factory finish requires more than knowing the car’s color name.
Most manufacturers assign a paint code to the vehicle’s original finish.
The location of the code varies by make and model.
A paint technician uses that code to identify an appropriate color formula.
The vehicle’s current color may not match a newly mixed factory formula exactly.
Paint can change in appearance with age, previous repairs, and environmental exposure.
A shop should also check whether surrounding panels have already been repainted.
Paint manufacturers sometimes offer more than one formula or variation associated with a factory color.
The painter may compare samples using suitable lighting.
According to PPG’s color formula identification procedure, the process includes checking the original paint code, examining color variants, and comparing them with the actual vehicle.
A painter may create a spray-out card.
This is a small sample used to evaluate the color before painting the body kit.
The result can be compared with the vehicle under suitable lighting.
Sometimes painting only the new part can leave a visible color difference.
The painter may recommend blending the color into a neighboring panel when appropriate.
That decision depends on the finish and the area being painted.
A factory paint code is a starting point, not a guarantee that the newly painted part will look identical to every surrounding panel.
An older vehicle may have spent years parked outdoors.
Its finish may have changed since leaving the factory.
That means a new bumper painted using the original formula can look different from the existing hood or fenders.
Metallic paints contain particles that affect how light reflects.
Pearl and special-effect finishes can change appearance depending on viewing angle and lighting.
The application technique and paint system can influence the final appearance.
A painted plastic bumper and a painted metal fender may appear slightly different under certain lighting conditions.
The underlying surface, coating process, and shape of the part can affect how the finish is perceived.
Blending introduces the repair color into a neighboring area to soften a visible transition.
PPG’s basecoat blending procedure describes how painters use verified color formulas and controlled application techniques.
Not every body kit project needs the same amount of blending.
The shop should inspect the vehicle and explain what it recommends.
Matte, satin, and other low-gloss finishes can require specialized methods.
You should not assume they can be matched or repaired using the same process as conventional gloss paint.
Tell the shop if your vehicle has a special factory or custom finish.
A smooth finish depends on what happens before the paint is applied.
This is where some of the most time-consuming work can occur.
A new bumper or side skirt may have dirt, oil, residue, or other contaminants on its surface.
Those substances can interfere with paint adhesion.
The technician needs to use cleaning products appropriate for the material and paint system.
Some parts have visible mold marks, pinholes, or minor surface irregularities.
These may need correction before primer.
The amount of work depends on the condition of the component.
Plastic materials can need a specific cleaning and adhesion process.
PPG’s bare-plastic preparation procedure explains that appropriate cleaning and adhesion promoter may be required for proper coating adhesion.
The exact process depends on the plastic and coating system.
The technician selects suitable primers and other coatings based on the material and desired finish.
A body kit part may then receive color and clearcoat according to the chosen paint system.
Poor preparation can contribute to:
3M’s flexible bumper repair guidance emphasizes cleaning, correct sanding, and suitable adhesion materials for plastic components.
Those same principles explain why body kit surface preparation deserves attention.
Some body kits are sold with an existing finish.
Others arrive unpainted or only partly prepared for refinishing.
Neither option is automatically right for every project.
Certain aftermarket lips and splitters are sold in black or another finished appearance.
These may be suitable for installation without a custom paint process if the product is designed for that use.
But the existing finish still needs inspection.
A glossy black accessory will not necessarily match the factory black paint on your car.
An unpainted part usually requires preparation before receiving the final color.
Depending on the material, that can involve cleaning, surface correction, primer, and painting.
A color-matched project aims to make the body kit look consistent with the vehicle’s existing finish.
The shop may use the factory paint code, test samples, and blending where appropriate.
Some customers want the carbon fiber appearance to remain visible.
Those parts may already have a finished surface or need additional protection, depending on the manufacturer.
Carbon fiber should not be treated like ordinary bare plastic.
Follow the product’s finishing and care instructions.
Certain body kit components can be covered with compatible automotive vinyl.
However, sharp contours, exposed edges, deep recesses, and surface condition can affect suitability.
Audio Vision also offers vinyl wrap and car wrap services.
Ask whether paint or a compatible wrap makes more sense for the material and appearance you want.
A common question is why body kit installation can involve different amounts of work from one vehicle to another.
The answer is that a body kit project can include several separate tasks.
Without listing prices or making assumptions about a particular vehicle, here are the main factors that affect the overall scope.
Installing one front lip is a different job from installing a front bumper, rear bumper, side skirts, and fender flares.
More parts usually mean more fitting, preparation, mounting, and final inspection work.
A component designed for the correct factory mounting locations may require fewer adjustments.
A kit that needs trimming, reshaping, or custom mounting work involves additional labor.
The vehicle’s condition matters here too.
Fiberglass, polyurethane, ABS, and carbon fiber may require different preparation and handling.
The amount of surface correction also varies between individual parts.
Material alone doesn’t tell the whole story.
An unfinished part may require cleaning, sanding, primer, paint, and clearcoat.
A special-effect factory color or finish that needs blending can involve additional refinishing work.
A bent mounting bracket, damaged bumper support, or uneven original body panel can prevent a new kit from fitting as intended.
Those problems may need attention before installation can continue.
Some kits include all the hardware needed for their intended installation.
Others require compatible brackets, fasteners, or mounting materials.
The correct approach depends on the manufacturer’s instructions.
A bumper replacement may affect vehicle electronics.
Sensor compatibility checks or required calibration can make the project more involved.
Widebody conversions and other extensive projects may involve cutting, reshaping, and more substantial finishing work.
These are not comparable with a straightforward bolt-on accessory.
A pre-finished accent, color-matched part, exposed carbon fiber component, and complete custom color treatment all have different preparation requirements.
Changing wheels, tires, or suspension height alongside a body kit adds compatibility and clearance considerations.
These changes should be planned together.
| Project | Work that may be involved |
|---|---|
| Front lip installation | Fitment check, mounting, clearance inspection |
| Side skirt installation | Panel alignment, fastening, door clearance |
| Replacement bumper | Factory component transfer, fitment, paint, sensors |
| Complete body kit | Several components, consistent gaps, refinishing |
| Widebody conversion | Fender work, mounting, fitment, finishing |
| Custom painted kit | Color matching, preparation, paint and possible blending |
The best way to understand your project is to discuss the specific kit and vehicle with an installer.
Audio Vision can review your planned body kit through its body kit installation service and contact page.
A professional body kit project should follow an organized process.
Skipping steps can lead to uneven gaps, damaged paint, insecure parts, or fitment problems later.
The technician confirms the vehicle’s year, make, model, and trim.
They also review the kit’s intended application and installation instructions.
Before work begins, the shop checks the parts for visible shipping damage, missing components, and surface problems.
If a kit arrives damaged, the installer may need to discuss replacement with the supplier.
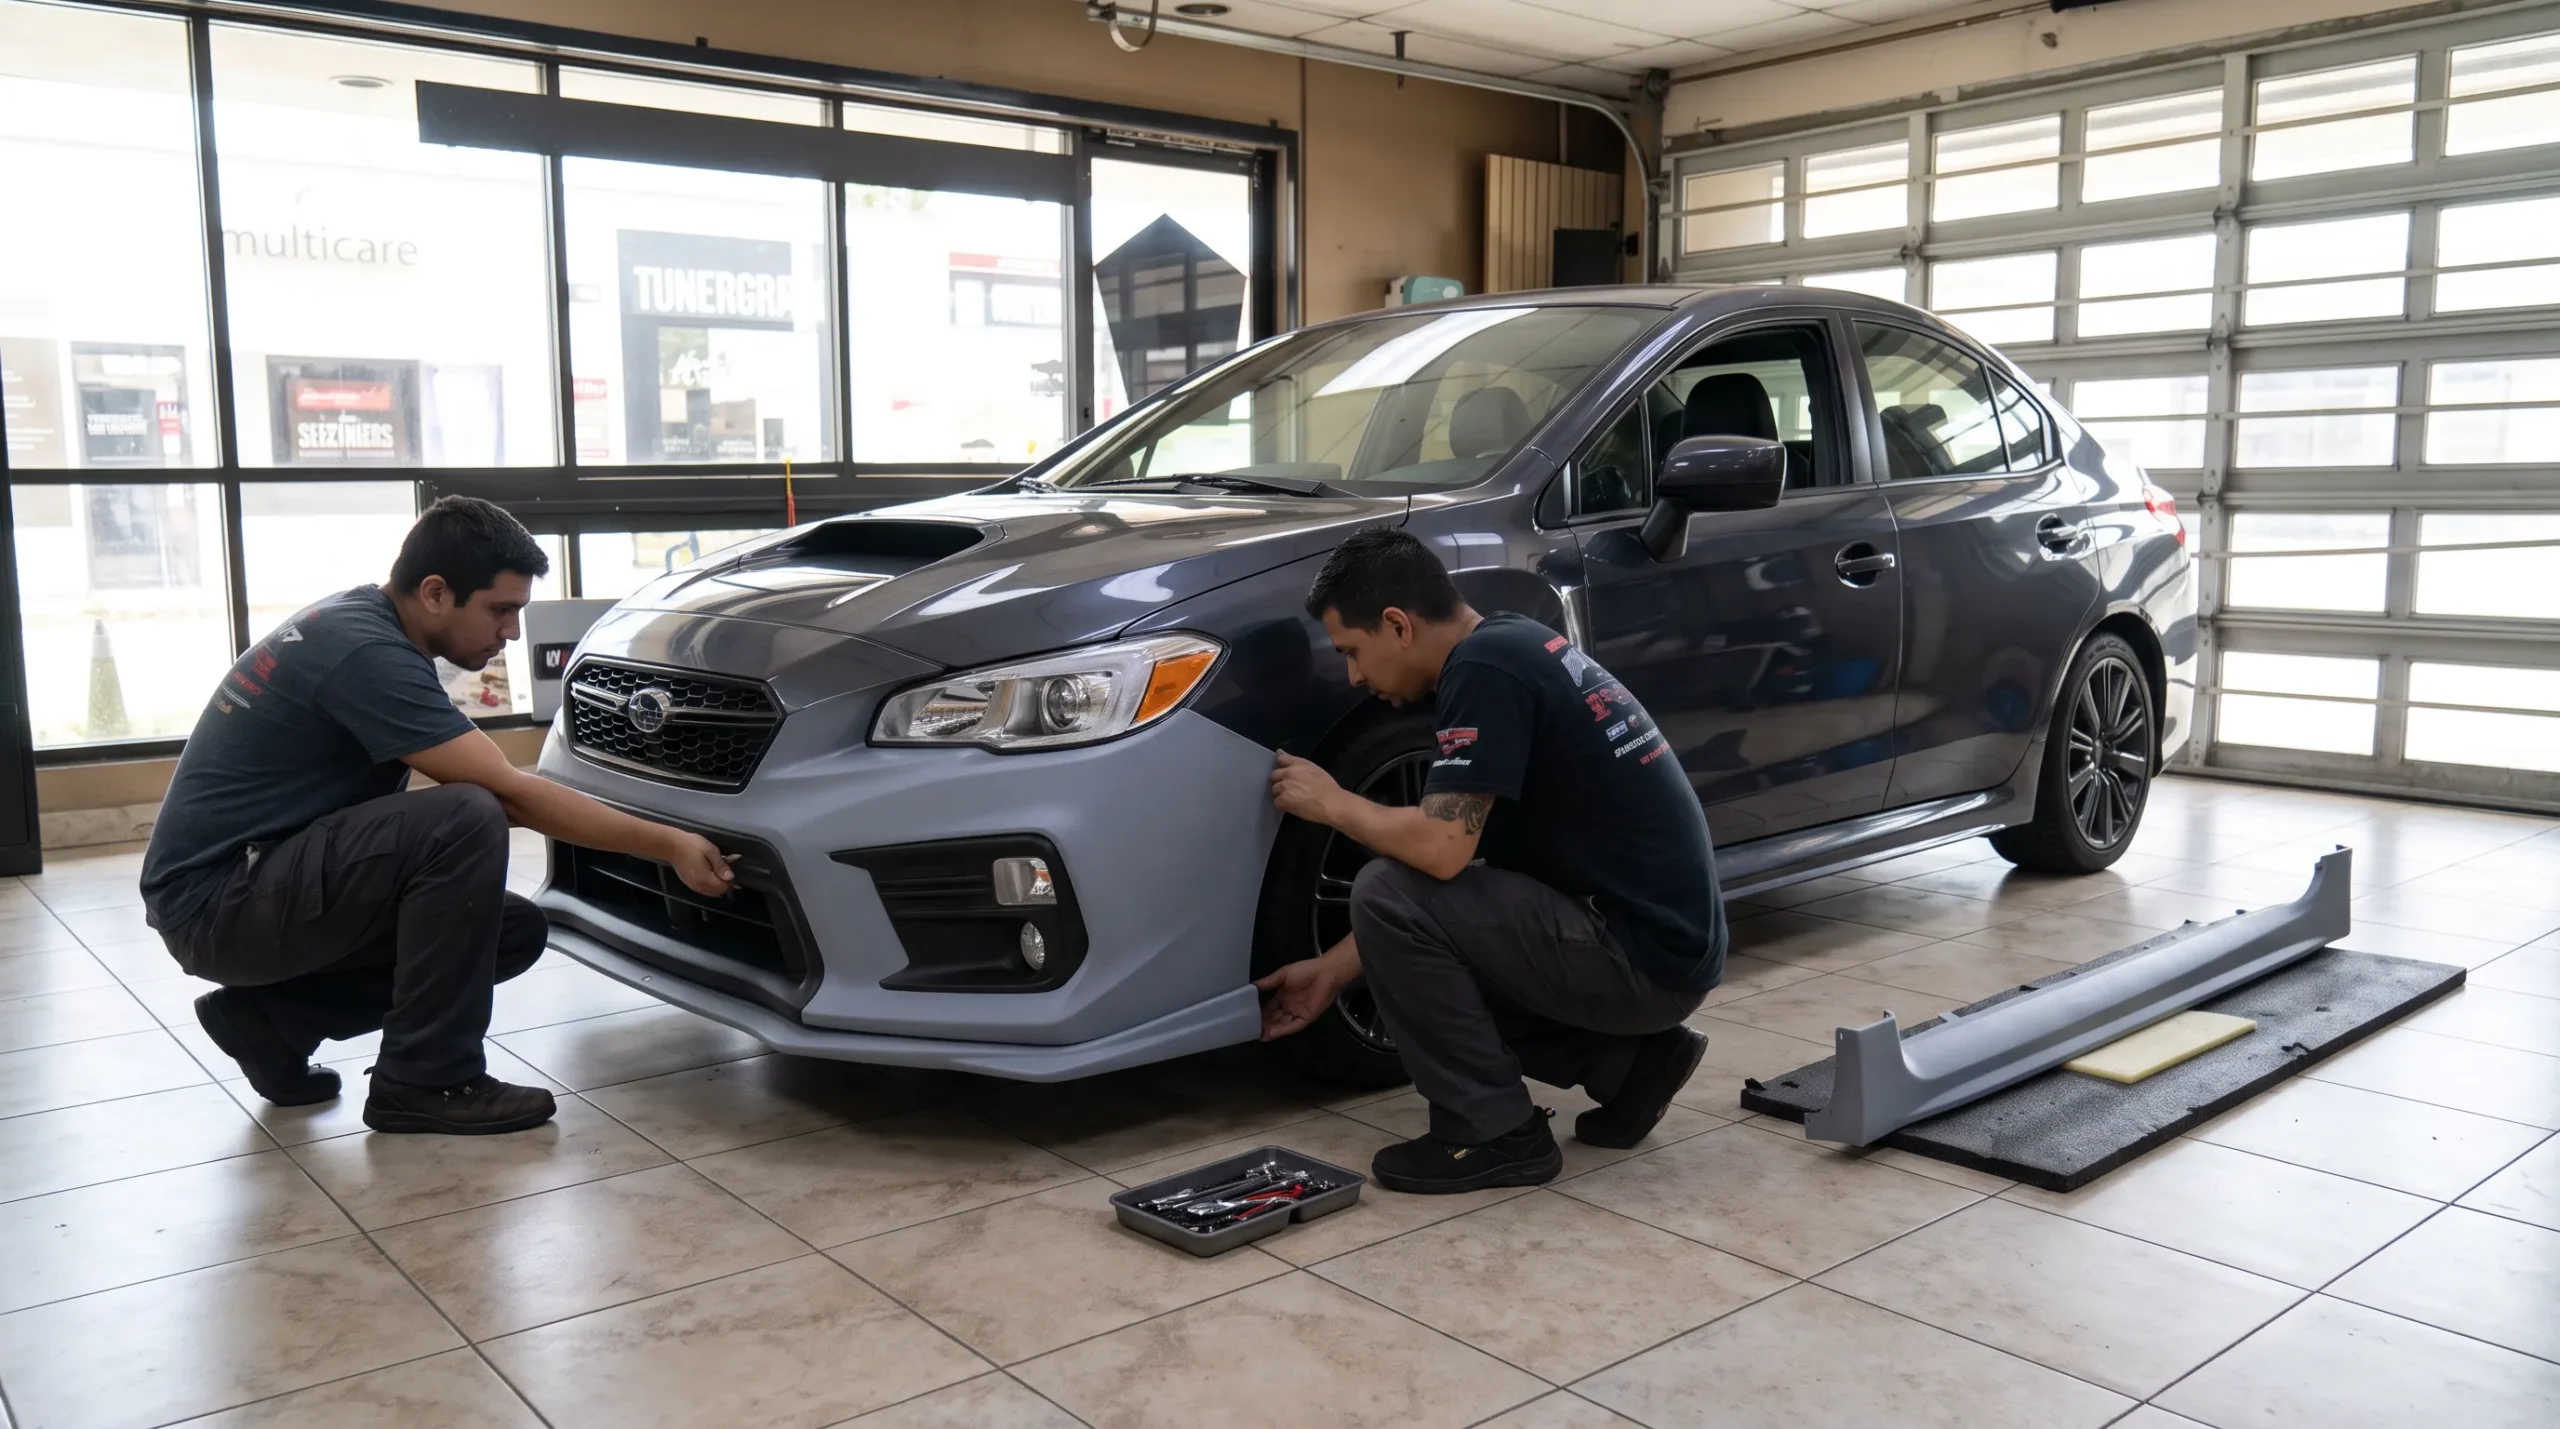
Each part is positioned to inspect panel gaps, body lines, and mounting locations.
The technician should check the surrounding lights, wheel openings, and other equipment.
Some components need minor trimming, sanding, or mounting adjustments.
The amount depends on the kit.
Unplanned cutting should never be treated as routine without checking the manufacturer instructions and the vehicle’s structure.
If painting is required, the parts are cleaned and prepared using suitable materials.
Color matching and refinishing follow the paint system’s instructions.
The finished parts are mounted using appropriate hardware and procedures.
The technician checks alignment, secure attachment, and interference with moving components.
Before returning the car, the shop should verify that the installed components are secure and that the relevant vehicle functions operate correctly.
That includes lights, access panels, and any sensors affected by the work.
Widebody conversions deserve extra consideration.
They can change the vehicle’s appearance dramatically, but they may also require modifications that are difficult to reverse.
Some widebody designs use extensions attached over or around the original fenders.
These may require drilling and suitable mounting hardware.
Some installations require changes to the original wheel arches.
That work can involve cutting sheet metal, protecting exposed edges, and addressing corrosion concerns.
Once material is removed, returning the vehicle to factory condition can be more complicated.
A wider fender doesn’t automatically mean the vehicle can use any wider wheel or tire.
Wheel offset, suspension travel, steering clearance, and tire size still need checking.
A widebody component must not interfere with doors, trunk movement, or other body panels.
These clearances should be checked during test fitting.
The additional bodywork, finishing, and fitment requirements make widebody projects more involved than adding a front lip or diffuser.
Discuss your intended wheel and suspension setup before beginning the body modifications.
Modern vehicles often place sensors behind or within bumper covers.
Changing the bumper can affect how those systems work.
Parking sensors may be built into the original front or rear bumper.
A replacement bumper needs appropriate openings and mounting positions when the original sensors are to remain functional.
Some vehicles have radar equipment behind the front or rear bumper.
The material, thickness, and shape of the bumper can affect radar operation.
In its October 2022 article ADAS and Accessorization, the Specialty Equipment Market Association explains that aftermarket bumpers and exterior components can interfere with radar and parking sensor performance if they are not properly designed or installed.
Certain vehicles use cameras, sensors, or associated wiring near the bumper.
A body kit may require special planning to avoid covering or damaging those parts.
Some modifications or component replacements may require manufacturer-specified calibration or inspection procedures.
This depends on the vehicle and which systems are affected.
Ask the shop to confirm whether additional procedures or outside specialist services are required.
A body kit should never be installed in a way that compromises the vehicle’s safety equipment.
A front lip or side skirt can make a vehicle appear lower even when the suspension hasn’t changed.
That appearance can come with practical concerns.
A lower front bumper or splitter may scrape on steep entrances or raised pavement.
Think about the driveways, parking garages, and roads you use regularly.
Some body kit components extend farther forward than the original bumper.
That can affect the angle at which your vehicle can approach a ramp or driveway.
Wider fenders and side skirts may need to work with your current wheel and tire setup.
The installer should check clearance during steering and normal suspension movement.
Coilovers or lowering springs can change how close the body kit sits to the pavement.
If you’re planning both changes, discuss them together.
Audio Vision offers suspension upgrades, lift and lowering kits, and custom wheels.
Those services may be relevant when planning a complete exterior project.
A body kit should look like it belongs on the car.
Certain problems become noticeable when the installation is rushed or when a part isn’t suitable.
Uneven gaps around bumpers and fenders can make an otherwise attractive kit look poorly fitted.
Test fitting helps identify these concerns.
A newly painted part may look different from the surrounding factory finish.
Color sampling and appropriate blending can help address certain differences.
Incorrect material preparation can lead to peeling or other finish problems.
The painter should follow the appropriate coating manufacturer’s process.
A splitter or side skirt that moves while the vehicle is traveling may have a mounting problem.
Components should be attached according to the product’s installation requirements.
A part may become damaged through impacts, excessive movement, or improper handling.
Different materials require different repair methods.
An aftermarket bumper can interfere with certain parking or radar systems.
Compatibility should be checked before the modification.
A body kit that sits too low can scrape during ordinary use.
The desired appearance should be balanced with practical road clearance.
Installation time depends on the vehicle and the specific components.
There’s no single schedule that applies to every body kit project.
A compatible front lip or other pre-finished accessory may involve less work than replacing a bumper.
But the technician still needs to check mounting and clearance.
A bumper replacement can require additional steps involving the original brackets, lights, grilles, sensors, and paint finish.
A complete kit means several components need to line up consistently.
If every part requires preparation and painting, the work can become more involved.
Widebody installation can involve custom body modifications, mounting work, and extensive refinishing.
These projects should be discussed individually.
Paint systems have specific preparation, application, and curing requirements.
A finished part shouldn’t be handled or installed in a way that damages a coating before it’s ready.
Audio Vision’s body kit service page notes that installation time varies with kit complexity.
Contact the shop with your vehicle information and the kit you’re considering to discuss scheduling.
Once your body kit has been installed, routine care can help keep it looking good.
The exact instructions depend on the material and finish.
Use appropriate automotive cleaning products and a soft wash mitt or microfiber cloth.
Avoid abrasive products that could damage painted or clear-coated surfaces.
Front lips, splitters, and lower side skirts are more exposed to road debris and contact with raised surfaces.
Inspect them periodically.
Newly refinished parts may have special care requirements during the paint system’s initial curing period.
Ask the shop when washing or other paint-care activities are appropriate.
If you notice a part moving, rattling, or sitting differently, have it inspected.
Don’t keep using a component that appears loose or damaged.
Carbon fiber components may need special finish protection and cleaning methods.
Follow the manufacturer’s guidance for the exact part.
Remember that a lower front lip or extended splitter changes your vehicle’s clearance.
Approach steep transitions carefully and avoid situations where the part may strike the ground.
If you’re searching for body kit installation near you, Audio Vision offers exterior customization services from its shop in Montclair, CA.
We work with customers interested in individual body kit components and complete exterior styling projects.
Audio Vision is located at 5521 Holt Blvd, Montclair, CA 91763.
Customers can contact us about body kit fitment, installation, paint matching, and related exterior modifications.
Our custom body kit services cover various exterior styling options.
Vehicle owners from Ontario, CA can visit Audio Vision in Montclair, CA.
If you already have a body kit in mind, bring the manufacturer name, part number, and vehicle details.
Customers from Rancho Cucamonga, CA can discuss front lips, bumpers, side skirts, and other available body kit options.
If your car has aftermarket wheels or suspension modifications, mention those during the consultation.
Audio Vision also serves customers from Pomona, CA and Claremont, CA.
If you’re planning painted exterior parts, ask about matching the finish to your vehicle’s existing paint.
Customers from Chino, CA and Chino Hills, CA can contact our Montclair location to discuss fitment and installation requirements.
We also welcome customers from Upland, CA, Fontana, CA, and nearby Inland Empire communities.
Audio Vision has a dedicated body kits in Riverside, CA service-area page.
Our physical installation shop is in Montclair, CA.
Riverside-area customers can contact us to discuss their vehicles and plan a visit.
Audio Vision has served the Inland Empire since 2006.
Our business offers automotive customization services that include body kits, paint, wraps, wheels, and suspension equipment.
Our body kit installation service covers exterior components such as bumpers, side skirts, and other styling accessories.
The website also notes that customers may choose individual components or complete kits.
Audio Vision’s body kit page confirms that paint services are available for body kit projects.
Our auto paint services provide another option for customers considering exterior refinishing.
Paint matching requirements depend on the vehicle’s existing finish and the selected components.
If the vehicle has damaged or poorly aligned body panels, that condition may need attention before a kit can fit properly.
Audio Vision also lists auto body services.
Discuss any previous collision damage during your consultation.
A painted body kit isn’t the only appearance option.
Depending on the material and shape, certain components may be suitable for compatible vinyl finishes.
Audio Vision offers vinyl wrap services and other exterior customization work.
Body kits often go hand in hand with wheels and ride-height changes.
If you’re planning several modifications, discuss their compatibility before choosing parts.
The goal is a vehicle that looks the way you want without unnecessary clearance or fitment problems.
Before booking a body kit project, use this checklist.
It can help you understand which parts of the work are included and what may need further review.
You don’t need to understand every detail before calling.
A shop should be able to explain the work involved and identify the questions that depend on inspecting your vehicle.
The amount of work depends on the vehicle, number of components, body kit material, and how well the parts fit. A pre-finished front lip may require a different installation process from an unpainted bumper replacement. Complete kits and widebody conversions can involve additional preparation, fitting, mounting, and painting. Previous collision repairs or existing modifications can also affect the process. Contact Audio Vision with your vehicle and body kit details to discuss the installation requirements.
Not always. Some vehicle-specific parts fit closely to the original mounting locations, while others may need trimming, sanding, or alignment work. Aftermarket component manufacturer SEIBON notes that minor fitment adjustments can be normal. Previous collision damage or aftermarket parts may also affect fit. A professional dry fit before painting helps identify problems while adjustments are easier to make.
Yes, many body kit materials can be finished to match a compatible factory paint color. The painter usually starts with the vehicle’s original paint code and compares the resulting color with the existing finish. Different paint variants, previous repairs, and aging can affect the match. A spray-out sample or blending may be needed. Audio Vision’s body kit service page confirms that paint services are available for its body kit projects.
No material is best for every application. Fiberglass can be used for formed exterior panels and custom shapes. Polyurethane products may provide different flexibility characteristics. Carbon fiber components offer composite construction and sometimes an exposed weave appearance. The quality of the part, mounting design, intended use, and preparation requirements also matter. Choose the material based on the specific kit and your vehicle rather than appearance alone.
The number of parts, fitting adjustments, material condition, paint preparation, color matching, mounting hardware, and existing vehicle damage all affect the project. Widebody conversions may involve cutting or reshaping original panels. Replacement bumpers can require additional work around sensors and other factory equipment. Ask the shop to inspect the specific kit and vehicle before deciding on the installation plan.
Yes, certain body kit components can affect parking sensors, cameras, or radar-based driver assistance equipment. SEMA explains that aftermarket bumpers and accessories can interfere with sensor operation when their design or placement differs from the original vehicle components. Some vehicles may also require manufacturer-specified checks or calibration. The installer should review these systems before modifying or replacing a bumper.
Audio Vision offers custom body kit installation and related auto paint services at 5521 Holt Blvd, Montclair, CA 91763. The shop welcomes customers from Ontario, CA, Rancho Cucamonga, CA, Pomona, CA, Claremont, CA, Chino, CA, Chino Hills, CA, Riverside, CA, and surrounding communities. Call (909) 983-4500 or visit the Audio Vision contact page to schedule a consultation.
A body kit can make your car look noticeably different.
But getting a clean finished appearance depends on choosing compatible parts, checking the fit, preparing the surfaces, and making sure the final paint complements the original vehicle.
Even a small exterior accessory deserves proper installation.
And for a complete bumper replacement or widebody project, planning becomes even more important.
If you’re considering body kit installation in the Inland Empire, Audio Vision is available to discuss your vehicle and customization goals.
We’ve served local car enthusiasts since 2006, offering body kits, auto paint, wraps, wheels, and suspension services from our Montclair shop.
Business Name: Audio Vision
Address: 5521 Holt Blvd, Montclair, CA 91763
Phone: (909) 983-4500
Business Hours: Monday through Sunday, 9:00 AM to 7:00 PM
Website: https://audiovisionie.com
Body Kit Services: Explore Custom Body Kit Installation
Automotive Paint: View Auto Paint Services
Auto Body Services: Explore Auto Body Work
Vinyl Wrap: Learn About Exterior Vinyl Wrap Options
Custom Wheels: Explore Wheel and Tire Options
Thinking about installing a new body kit?
Call (909) 983-4500 or visit our Contact Us page to schedule an appointment.
Tell us your vehicle’s year, make, model, and trim level.
If you already have a body kit in mind, share the manufacturer, product information, and which components you want installed.
Let us know whether you prefer a factory color match, an exposed carbon fiber appearance, or another suitable finish.
Our team can discuss body kit fitment, paint preparation, mounting requirements, and the next steps for your exterior customization project.
The following body kit manufacturers, automotive refinishing specialists, industry publications, and Audio Vision service pages support the technical and local information in this article.
Publisher: Audio Vision
Publication Date: Not specified
URL: https://audiovisionie.com/services/body-kits/
Information about Audio Vision’s body kit selection, individual exterior components, installation, material options, paint matching, and vehicle customization services.
Publisher: Extreme Dimensions
Publication Date: Not specified
URL: https://www.extremedimensions.com/products/112529-2012-2018-bmw-3-series-couture-m3-look-kit
Manufacturer information describing how aftermarket body kit installation may require test fitting, sanding, trimming, filling, and painting.
Publisher: SEIBON Carbon
Publication Date: Not specified on the referenced support page
URL: https://seiboncarbon.com/support/
Manufacturer guidance concerning carbon fiber parts, expected fitment adjustments, professional installation, product inspection, warranty conditions, and material care.
Publisher: Anderson Composites
Publication Date: Not specified on the referenced support page
URL: https://andersoncomposites.com/support/
Manufacturer guidance about installing composite components, painting carbon fiber, surface protection, and specialized mounting requirements.
Publisher: PPG Industries, Automotive Refinish
Publication Date: Not specified
Professional refinishing procedures for identifying factory paint codes, comparing color variants, and checking color accuracy before painting.
Publisher: PPG Industries, Automotive Refinish
Publication Date: Not specified
Manufacturer procedures describing color verification, paint blending, and application considerations for automotive waterborne finishes.
Publisher: PPG Industries, Automotive Refinish
Publication Date: Not specified
Technical instructions for cleaning, preparing, priming, and applying suitable coatings to unpainted automotive plastic components.
Publisher: 3M Collision Repair
Publication Date: Not specified on the referenced page
Manufacturer information about preparing flexible automotive plastic surfaces, sanding, adhesion promoters, and repair materials.
Publisher: Specialty Equipment Market Association, SEMA News
Publication Date: October 2022
URL: https://www.sema.org/news-media/magazine/2022/10/adas-and-accessorization
Industry guidance concerning aftermarket bumpers, parking sensors, radar-based driver assistance systems, sensor interference, and installation planning.
Publisher: Maxton Design USA
Publication Date: Not specified
URL: https://maxtondesignusa.net/products/front-splitter-v-1-bmw-m4-g82
Manufacturer product information about ABS body styling components, vehicle-specific fitment, mounting hardware, and installation recommendations.
Publisher: Audio Vision
Publication Date: Not specified
URL: https://audiovisionie.com/services/auto-paint/
Audio Vision’s automotive paint service information for customers considering exterior refinishing.
Publisher: Audio Vision
Publication Date: Not specified
URL: https://audiovisionie.com/services/auto-body/
Information about Audio Vision’s auto body services and related exterior work.
Publisher: Audio Vision
Publication Date: Not specified
URL: https://audiovisionie.com/services/vinyl-wrap/
Information about exterior vinyl wrap and custom vehicle finish options at Audio Vision.
Publisher: Audio Vision
Publication Date: Not specified
URL: https://audiovisionie.com/service/body-kits-in-riverside-ca/
Audio Vision’s service-area information for customers seeking body kit selection and installation services from Riverside, CA.
Looking for the best car audio installation in Montclair, CA? Discover expert tips, top brands, and why Audio Vision is the go-to destination for high-quality car sound systems.
Product Brand: Audio Vision
Product Currency: USD
Product Price: 299
Product In-Stock: InStock

Acima, a flexible lease-to-own option that helps you get the car upgrades you love—without needing perfect credit. Whether you’re looking for car audio, video, security systems, window tint, wheels, auto lighting, or accessories, Acima makes it easy with no credit needed and convenient payment options. Get what you want today and pay over time, hassle-free!

Snap Finance is here to help you get the car audio, video, security, window tint, wheels, lighting, and accessories you need today. With Snap Finance, you can shop now and pay later, thanks to their flexible payment plans that consider more than just your credit score. Applying is fast and easy, and you’ll receive a decision in seconds. Take advantage of stress-free payment options that fit your payday schedule, so you can upgrade your ride without the wait!
Explore the many services we offer by clicking the boxes below


|
|
|
|
|
|
|
|
|
|
|
|
|
|
|
|
Body Kit Installation: Fitment, Paint Matching and What Drives the Cost
|
Body Kit Installation: Fitment, Paint Matching and What Drives the Cost
|
Body Kit Installation: Fitment, Paint Matching and What Drives the Cost
|
Body Kit Installation: Fitment, Paint Matching and What Drives the Cost
|
|
|
|
|
|
|
|
|
|
|
|
|
|
|
|
|
|
|
|
|
|
|
|
|
|
|